Two loaves go into the oven from the same bag of flour, the same recipe, the same pair of hands. One comes out with an open, honeycombed crumb and a crust that crackles as it cools. The other is a pale brick with a gummy centre and a smell of beer. Between them, almost every time, sits one variable: proofing. It is not the glamorous part of bread making — no folding, no scoring, nothing worth photographing — but it is the stage that decides whether everything before it survives the bake. Italian breads lean on it harder than most. A ciabatta, a pane pugliese, a pizza bianca: short ingredient lists, high hydration, nowhere to hide.
Water Temperature Is the First Thing Worth Measuring
Yeast is a living culture, and it has a narrow comfort zone. Most problems that bakers blame on "bad yeast" are really temperature problems — either the yeast was scalded at the start or it is working in a dough that is too cold to move.
For dried yeast, water at roughly 35–38°C is plenty. If you cannot comfortably hold your finger in it, it is too hot. Activity begins to fall off above about 45°C, and somewhere around 50–55°C the cells are dead; no amount of waiting will bring them back. Fresh yeast prefers cooler water, around 24–26°C. And it is worth tasting a dough made with water that was too hot: flat, sweetish, lifeless, with no rise at all after two hours.
The water temperature you actually need depends on your flour, your kitchen and the season. A simple rule of thumb used in many bakeries: water temperature = (2 × target dough temperature) − flour temperature. If your flour sits at 20°C and you want a 24°C dough, the water should be about 28°C. It is an approximation, not a law, but it gets you close.
Italian pre-ferments have their own numbers, and they matter. A biga for a long overnight rest should be mixed with cold water and left to ferment at 16–18°C for 16–20 hours; push it past 20°C and it turns sharply acidic and collapses before morning. A lievito madre refreshed at 26–28°C should smell of yoghurt and ripe fruit. If it reeks of acetone or nail polish, it has been waiting too long and needs feeding before it goes anywhere near a dough.
The Clock Is a Suggestion; the Dough Is the Recipe
A recipe that says "prove for two hours" was written in someone else's kitchen. Flour strength, hydration, kitchen temperature, draughts, the warmth of the bowl and the number of folds all shift the timing. Two hours in a Sicilian summer is not two hours in a Scottish January.
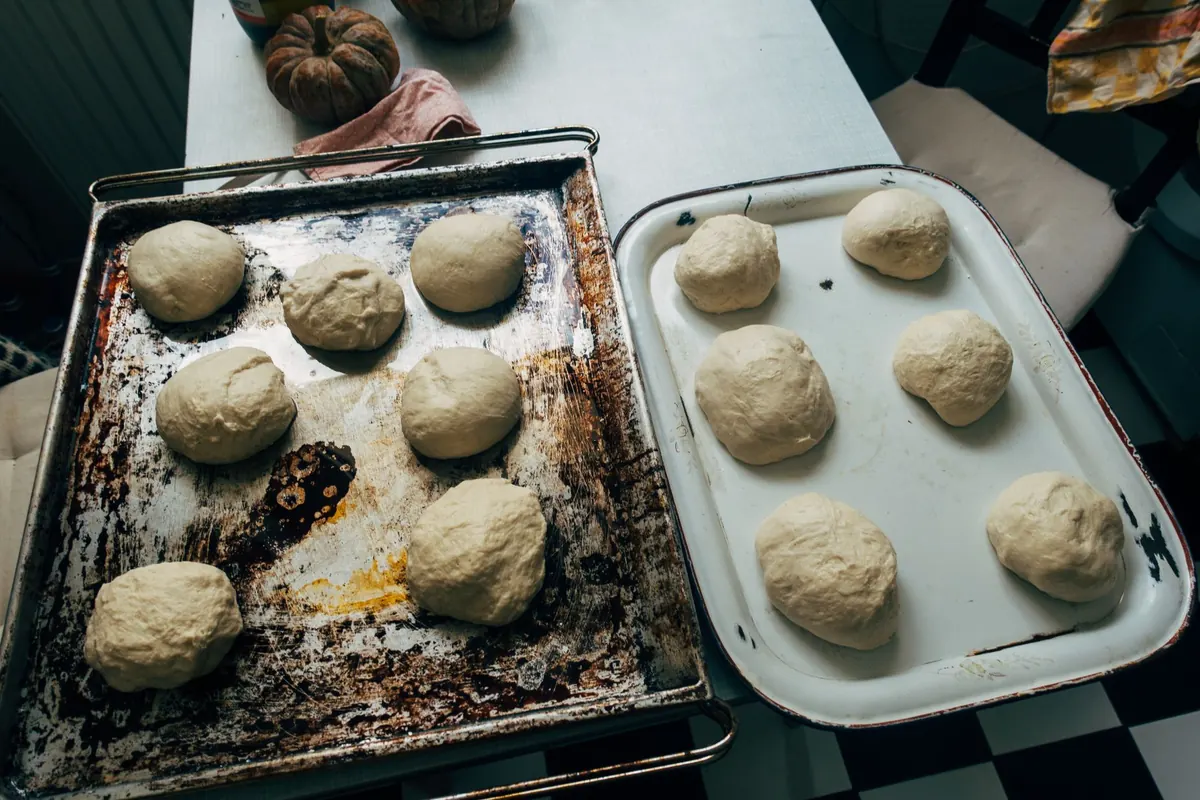
Learn to look instead. Well-developed dough shows a domed top, small bubbles just under the skin, a slight wobble when you shake the bowl and a surface that feels like a full balloon rather than a tight drum. Set a timer, by all means — but as a reminder to check, not as the decision itself.
Overproofing: When the Dough Goes Past Its Best
Overproofing is the more common failure at home, because it happens quietly and it is easy to miss while you are doing something else. The dough keeps rising, then begins to lose structure as the gluten network stretches beyond what it can hold.
The signs, roughly in the order they appear:
- The dome flattens and then sinks slightly at the edges.
- The surface shows large, thin bubbles that look ready to burst.
- A sharp, sour, almost alcoholic smell — more brewery than bakery.
- The dough spreads sideways as soon as it leaves the bowl instead of holding a shape.
- It deflates immediately and completely when you touch it.
Baked in this state, the loaf comes out flat with a pale crust, a crumb that is dry and crumbly at the edges and gummy in the middle, and a flavour that tastes tired. In a wood-fired oven it will not spring; it will simply sit there and darken.
If you catch it early — a slight sag, no full collapse — you can often rescue the batch. Knock it back gently, reshape it with a firm, quick hand, and give it a shorter second rise at a cooler temperature. If the dough has gone fully slack, stop trying to make a boule. Press it into an oiled tray, dimple it, salt it and bake it as focaccia. A collapsed dough makes poor bread and very good flatbread; there is no shame in choosing the second option.
Underproofing: The Loaf That Rips
Underproofed dough feels tight and fights back. It springs away from your finger rather than holding a dent, and it resists shaping so much that the surface tears. In the oven it bursts open along the side rather than where you scored it, or it climbs into a narrow, lopsided cone.
The slice tells the story even more clearly. Look for a dense, tight band at the base and a few large irregular tunnels near the top — the classic "fool's crumb", which looks open but is actually badly distributed. The crumb is heavy and chewy, and the bread stales within a day.
The correction is patience, not heat. Move the dough somewhere warmer by a few degrees — a turned-off oven with the light on, a cupboard above the fridge — and give it another thirty minutes before checking again. Do not put it on a radiator or in a hot oven: the outside will overproof while the centre stays cold.
The Finger Test, Done Properly
Nearly every baker knows about the finger test and nearly every baker does it too fast. A dent that refills in one second tells you very little; you need to watch the dough's reaction for five to ten seconds.
- Dust your index finger lightly with flour so it does not stick and tear the surface.
- Press about one to two centimetres into the side or shoulder of the dough — not the very centre, which is always the most fragile point.
- Pull your finger out and watch. Wait. Count slowly.
A dent that springs back briskly and disappears is underproofed: the gluten is still elastic and the dough has more rising to do. A dent that stays exactly as you made it, with the edges unmoved, is ready. A dent that sinks further on its own, or a dough that hisses and deflates as you touch it, is overproofed.
One Test Is Not the Whole Story
Hydration changes how the test reads. Very wet doughs — a ciabatta at 80% — will never feel firm, so judge them by the wobble and the visible bubbles instead. Cold dough straight from the fridge also feels tighter than it is, which is why it is worth letting shaped loaves sit at room temperature for twenty minutes before you decide anything.
Your Kitchen Is Not the Recipe's Kitchen
Winter kitchens dry doughs out and slow fermentation; summer kitchens do the opposite, often within the same afternoon. A dough left near a window in March may take twice as long as the same dough in July. This is not a flaw in the recipe, just physics.
Cover your bowl or banneton with a damp cloth or an upturned plastic bag to stop a skin forming. Keep the fermenting dough out of draughts, and away from radiators and sunny sills. If your kitchen is reliably cold, a long, slow proof in the fridge — eight to twelve hours for a shaped loaf — is the most forgiving option available to a home baker, and it improves both flavour and crust colour. Bring it back towards room temperature before baking, or expect to add several minutes to the bake.
A Short Checklist Before the Bake
- Was the yeast water comfortably warm, not hot?
- Is the dough domed, bubbly and slightly wobbly?
- Does a floured finger leave a dent that holds its shape for several seconds?
- Does the dough smell of ripe grain and yeast, not of alcohol?
- Has it held its shape after shaping, or is it spreading?
Bake the Loaf You Have
If you are still unsure, bake a small piece of the dough as a test. Tear off a walnut-sized lump, drop it in a lightly oiled pan and cook it in a hot oven or a frying pan for a few minutes. The result tells you more than any timer: a tight, pale, dense crumb means wait; an open, airy one means the rest is ready now. And if you have already gone too far, bake it anyway. A flat loaf still makes excellent bruschetta, and the next batch will be better because you now know what your kitchen does to dough.
Photo: Markus Winkler / Pexels